Photobucket  photo linec_zpsaf5a5183.jpg Photobucket  photo linec_zpsaf5a5183.jpg Photobucket  photo linec_zpsaf5a5183.jpg Photobucket  photo linec_zpsaf5a5183.jpg Photobucket
Showing posts with label DIY. Show all posts

Tuesday, June 9, 2015

DIY Roundup // 6.9.15

I'm back at it with a little Pinterest inspiration. I have a little bit more time for crafting now that it's summer, but it is still quite a struggle to get projects completed.

Hopefully I'll be more diligent about posting the projects I do end up doing. I'm trying to get a stockpile to make my life easier during the school year. 

There is some pretty exciting life news that I'll announce soon, though, so stay tuned and check back regularly!

ReFab Diaries: Repurpose: Leather Coat to Bag - step by step tutorial - Bildanleitung - you'll find here http://luzpatterns.com/2013/11/21/diy-upcycling-an-old-leather-coat-into-a-leather-bag/

Make your own headbands to keep hair in place whole working out. Kraftie Katie: DIY Headband Tutorial (Super Easy!)

DIY Terrarium - inexpensive, beautiful way to incorporate natural beauty into your home. Low-maintenance.

DIY birch wood candle holder

Until next time!


Pin It

Sunday, November 25, 2012

Leather & Gold Feather Earrings // DIY

Today we're making leather feather earrings. That's right. Leather feather earrings. Try saying that three times fast.

Leather feather leather feather leather feather.


These earrings were inspired by this pin on pinterest, but I couldn't find the original site that they came from. 


And if you aren't super crafty or you don't have the supplies, you're in luck! I made quite a few extra pairs and listed them in my ETSY SHOP.


Read on to learn how to make them yourself!
Pin It

Sunday, November 18, 2012

Very Gathered Skirt // DIY

Tomorrow I see my dad, brother, (and cat) for the first time since August! To say I am excited is an understatement. It has been a long few months not seeing them! 

Today we're making a very gathered skirt. I think really full skirts are super fun to wear and they also happen to be quite easy to make! And you can obviously make it with any fabric you want as long as it hangs well!


Want to learn how? Read on!
Pin It

Sunday, November 11, 2012

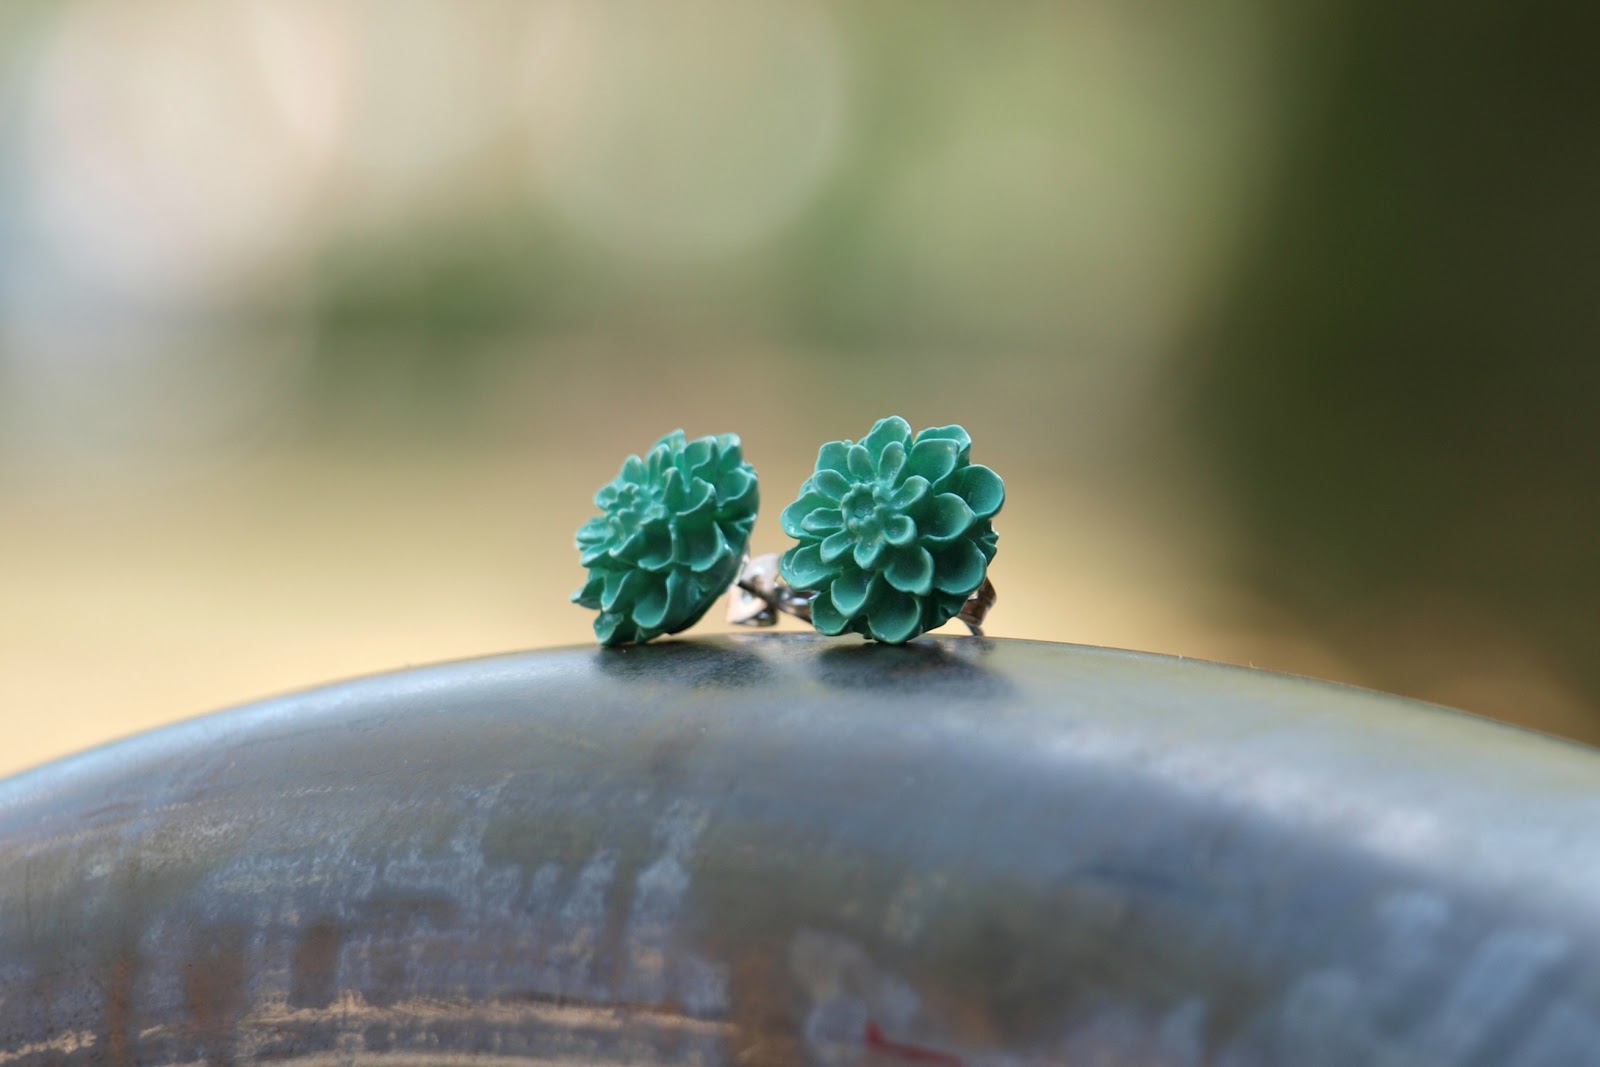
Glittery Studded Studs // DIY

I'm so excited for this 3-day weekend! It is definitely much needed.

Today we're making these super cute studded stud earrings!

I have given a few pairs of these away through giveaways on other blogs. I'm thinking of doing a giveaway of a pair when I hit 100 followers, what do you think?


 For some I used a dark grey glitter and for others I used pink.


For listings of other jewelry that I make, be sure to check out my Etsy shop!

Ready to learn how? Read on!
Pin It

Sunday, October 28, 2012

Zipper Bracelet // DIY // Repurpose October

I'm afraid of fire. 

Kinda funny that I'm a Chemistry major and, well, we have Bunsen burners.

Anyways, what does my fear of fire have to do with crafts? You'll need a lighter or a candle or matches or a blowtorch (pick your poison) for this one!

And it takes literally five minutes.


We're finally down to the last week of REPURPOSE OCTOBER! How sad! Of course, I will always be posting new DIYs each week (that is, after all, the purpose of this blog!) but I have really enjoyed trying to be extra creative and repurpose things!

Don't forget to keep sending in your repurposed crafts for a feature post of my favorites at the end of the month!


I have seen this done a few other places before, but I can't seem to pinpoint the original creator. If that is you, feel free to send me an e-mail and I'll post a link to your site for credit!

Ready to learn how? Read on!
Pin It

Saturday, September 29, 2012

High-Low Skirt Refashion // DIY

It's been quite busy around here with studying for midterms (ew!)

With procrastination in full swing, I am here to share an awesome (and easy!) craft with you!

Did I say procrastination? I meant studying. Totally meant studying.

Aaaaanyways...look! A craft!


Isn't that a cute little high-low skirt? All it requires is a quick cut and an easy stitch along the hem. 

Before I get to the tutorial though, I'd like to share with you REPURPOSE OCTOBER!

I have a fantastic lineup of DIYs where I completely repurpose some common items. You are not going to want to miss it!


During the entire month of October, I'll be posting like normal on Sundays, but all of my projects will be of repurposed items!

And the best part? Throughout the month, I want YOU (yes, you!) to send me your repurposed crafts! At the end of the month, I will make a feature post of all my favorites! See my Contact page for my e-mail!

Excited yet? Don't try and hide it!

Now on to the tutorial for the high-low skirt. 


This is what it looked like before:


Read on to find out how to make it!

Pin It

Friday, September 28, 2012

Introducing REPURPOSE OCTOBER

Get excited.

Like jump out of your seat and scream whilst dancing excited.

C'mon. Get up and do it. Nobody is watching.

I'm super excited to introduce to you my first ever series!

REPURPOSE OCTOBER.


Here's what's going down:

Every week in October, I will be doing my normal Sunday DIY/Tutorial/Crafty posts, BUT they will all be centered around repurposing an item for something completely different.

I have quite a few tricks up my sleeves so you won't want to miss a single week!

Throughout the whole month, I will be encouraging you, my lovely, talented readers, to be sending me YOUR repurposed crafts. That's right! I want to hear from you! Have a repurposed craft tutorial that you think I'll love? Send it to me! At the end of October, I will be making a feature post of all my favorites. 

So get started e-mailing me all those great ideas! See my Contact Me page for my e-mail!

Get excited!

Pin It

Sunday, September 23, 2012

Gold Triangle Earrings // DIY

Happy Sunday!

If you missed last week's Number Pillow DIY, I highly recommend you go check it out!

Today I have an incredibly simple project for you all, which you're going to love!

Check out these cute gold triangle earrings!


I found these cute gold triangles at Michael's in the jewelry clearance. Although the concept of this project is quite simple, it just goes to show that simple, cheap crafts can look just as good as the fancy ones!

Read on to learn how to make them!
Pin It

Sunday, August 26, 2012

Jeans to Coral Skinnies // DIY

Sorry I didn't post a Mid-Week Sneak Peek this past Wednesday, it was the first day of classes and this week has been quite crazy with all the various Welcome Week activities.

Now on to the tutorial for this week!

I've been loving the brightly colored skinny jean trend lately, but as usual, I don't love the price tag. So, I decided to DIY it for a much more affordable price!

They turned out so well! Take a look!


This is what they looked like before, during, and after:

Don't they look great?


Want to know how I did it?

Click "Read More" below to view the instructions!

Pin It

Sunday, August 12, 2012

Hair Combs // DIY

This week has been pretty laid-back. I've mostly been spending a lot of time with my family while I can, which has been great. It's also the reason why my recent DIY posts have been pretty simple projects.

But that's a good thing sometimes!

Not crafty at all? Hate artsy things? Not much time on your hands? This project is for you.

It takes literally minutes.

However, for those of you that are more artistically inclined, I do have some upcoming projects that I will be posting during the school year that you are not going to want to miss! They'll knock your socks off. I'm so excited about them. So much so that I'm blabbing about them instead of getting to the tutorial. 
Okay, here we go!


This is such an easy project with great results! They would be a lovely little gift for any occasion or no occasion at all!

I also made one with Ohio State colors. 

Want to see it?
Want to learn how I made these?

Pin It

Sunday, July 29, 2012

Blue Flower Earrings & Rings // DIY

Every summer for the past 8 or 9 years, my family and I have spent time with our friends from Idaho. They have two girls around my age and a boy that gets along well with my brother, so times are always crazy when the nine of us are all together. Yesterday was not only my last day of work and also the day that we met up with them! It's so exciting to see them again! There has already been a ton of laughter.

Last year, I had the opportunity to travel with them to many countries in Europe. This is the three of us girls at Neuschwanstein castle in Germany:
I am in the center and Taylor is on the right. Michelle is the one on the left. She has a six pack and is a beast at life. (She told me to say that, but she actually does have a six pack which is kind of ridiculous).

Today's project is really simple yet incredibly adorable. The idea can be applied to so many things, too!


I had quite a bit of fun snapping these pictures - they're all set on a bike rack!

Ready to learn how?
Pin It

Sunday, July 15, 2012

Mustache Necklace // DIY

I got really excited yesterday. 

Why, you ask? Because I was on the blog Swenson Love! I did a button swap with Jess for the month of July and yesterday she did a group post about all of her swappers. It was a really sweet little feature and I love her blog. You can check out her sponsor swap post here. Thanks, Jess! It was fun swapping with you!

I have now started accepting sponsors myself through a sponsor swap! Check out the new sponsor page to learn more.

Since last week's Nook/Kindle Cover DIY tutorial was so long, I have something a bit shorter for you this week!

This is a super easy project to do. Even if you can't find the exact materials to make this, you can still apply the idea to other jewelry making supplies that you can find. 

Today we are making a mustache necklace!

I'm pretty sure my mom would hate this style, but mustaches are one of the quirky nerdy trends right now. When I found this silver mustache at Hobby lobby, I knew it would be a super cute, super easy project.


Want to learn how? Read on!

Pin It

Sunday, July 8, 2012

Nook/Kindle Cover // DIY

I currently have 271 pictures waiting to be cropped and/or edited for this blog. And I haven't even finished taking pictures of completed projects OR gotten half way done with my loooong list of projects to do this summer. I'm saving all of that work for my midnight shifts when I'll need entertaining and can use my laptop at work. So get ready for some great stuff coming up this year on Elemental Carbon. I promise it won't disappoint :)

I'm going to try and start doing more sneak peeks during the middle of the week, so be sure to come back and check what's coming up!

I used some of the money I am making from my summer job and splurged a bit. I bought myself a Nook SimpleTouch with GlowLight (that's a mouthful!) We get to read at the front desk for my job so I have been using it a lot.

When I first bought it, I looked into cases and covers for protection, but they started out at $35 which just won't cut it for me.

So like all crafty people would, I made one myself! I didn't have any tutorial to go off of, I just made it up as I went! I ended up staying up until 1 am making this cover the exact same day that I got the nook. I was too excited!


I am quite proud of how it turned out. It ended up being $10-$15 (much cheaper!). And a lot of the supplies (like extra fabric, extra elastic, extra double sided fabric tape) I can use again for other projects!


Hello there!

I found this gorgeous fabric at JoAnn's (big surprise, huh?) for $6/yard. I got half a yard (and now regret not getting more!) so the fabric ended up being only $3. Plus I had some left over.


This tutorial can be adapted to make a cover for just about anything!

Want to learn how to make one yourself? Read on!

You'll have to bear with me - it's quite a long and wordy tutorial, but I tried to be as specific and detailed as possible. (Lots of pictures, too!)

Pin It

Sunday, June 17, 2012

Gold Chevron Army Backpack // DIY

Did ya miss me?

This week has been so busy! I moved into my new room for the summer, trained for my job, and started working! Thursday I went to the summer kickoff of RealLife, the campus ministry that I am involved in here at Ohio State. Then last night I went with some friends to a cool theater downtown to see the old movie Casablanca. 

Two very exciting pieces of news:

I was featured on one of my absolute favorite blogs, Cotton & Curls, yesterday! 
SO exciting. I looked on her blog and all of a sudden, my picture from the DIY Lace Shorts Tutorial was at the very top! I did a little happy dance and immediately called my mom and fellow crafting buddy Katie to tell them the great news.

I have also become the DIY Coordinator & Stylist for a website called Collegiate Consumption (see logo on the right sidebar!) which is also very exciting. I will be posting 1 out of every 3 or 4 of my DIY tutorials on there, but don't worry! Elemental Carbon will still be running as normal and you will always get the most and best right here.

Now that I've probably bored you to death with all my blabbing, on we go to this week's tutorial!

After a week off from blogging, I am more than ready to come back and show you what I have up my sleeve! I am SO excited for you guys to see this post.

Ready to see what we're doing?

A DIY Gold Chevron Army Backpack!

And this tutorial comes with a freebie downloadable chevron pattern!


I got this cute little backpack from an Army Surplus/Resale store that is close to campus. As soon as I saw it I knew it would look perfect with some chevrons on it. I was originally thinking silver, but I'm glad I changed my mind to gold.

Click "Read More" below to continue with the instructions!

Pin It