Photobucket  photo linec_zpsaf5a5183.jpg Photobucket  photo linec_zpsaf5a5183.jpg Photobucket  photo linec_zpsaf5a5183.jpg Photobucket  photo linec_zpsaf5a5183.jpg Photobucket
Showing posts with label how-to. Show all posts

Sunday, July 15, 2012

Mustache Necklace // DIY

I got really excited yesterday. 

Why, you ask? Because I was on the blog Swenson Love! I did a button swap with Jess for the month of July and yesterday she did a group post about all of her swappers. It was a really sweet little feature and I love her blog. You can check out her sponsor swap post here. Thanks, Jess! It was fun swapping with you!

I have now started accepting sponsors myself through a sponsor swap! Check out the new sponsor page to learn more.

Since last week's Nook/Kindle Cover DIY tutorial was so long, I have something a bit shorter for you this week!

This is a super easy project to do. Even if you can't find the exact materials to make this, you can still apply the idea to other jewelry making supplies that you can find. 

Today we are making a mustache necklace!

I'm pretty sure my mom would hate this style, but mustaches are one of the quirky nerdy trends right now. When I found this silver mustache at Hobby lobby, I knew it would be a super cute, super easy project.


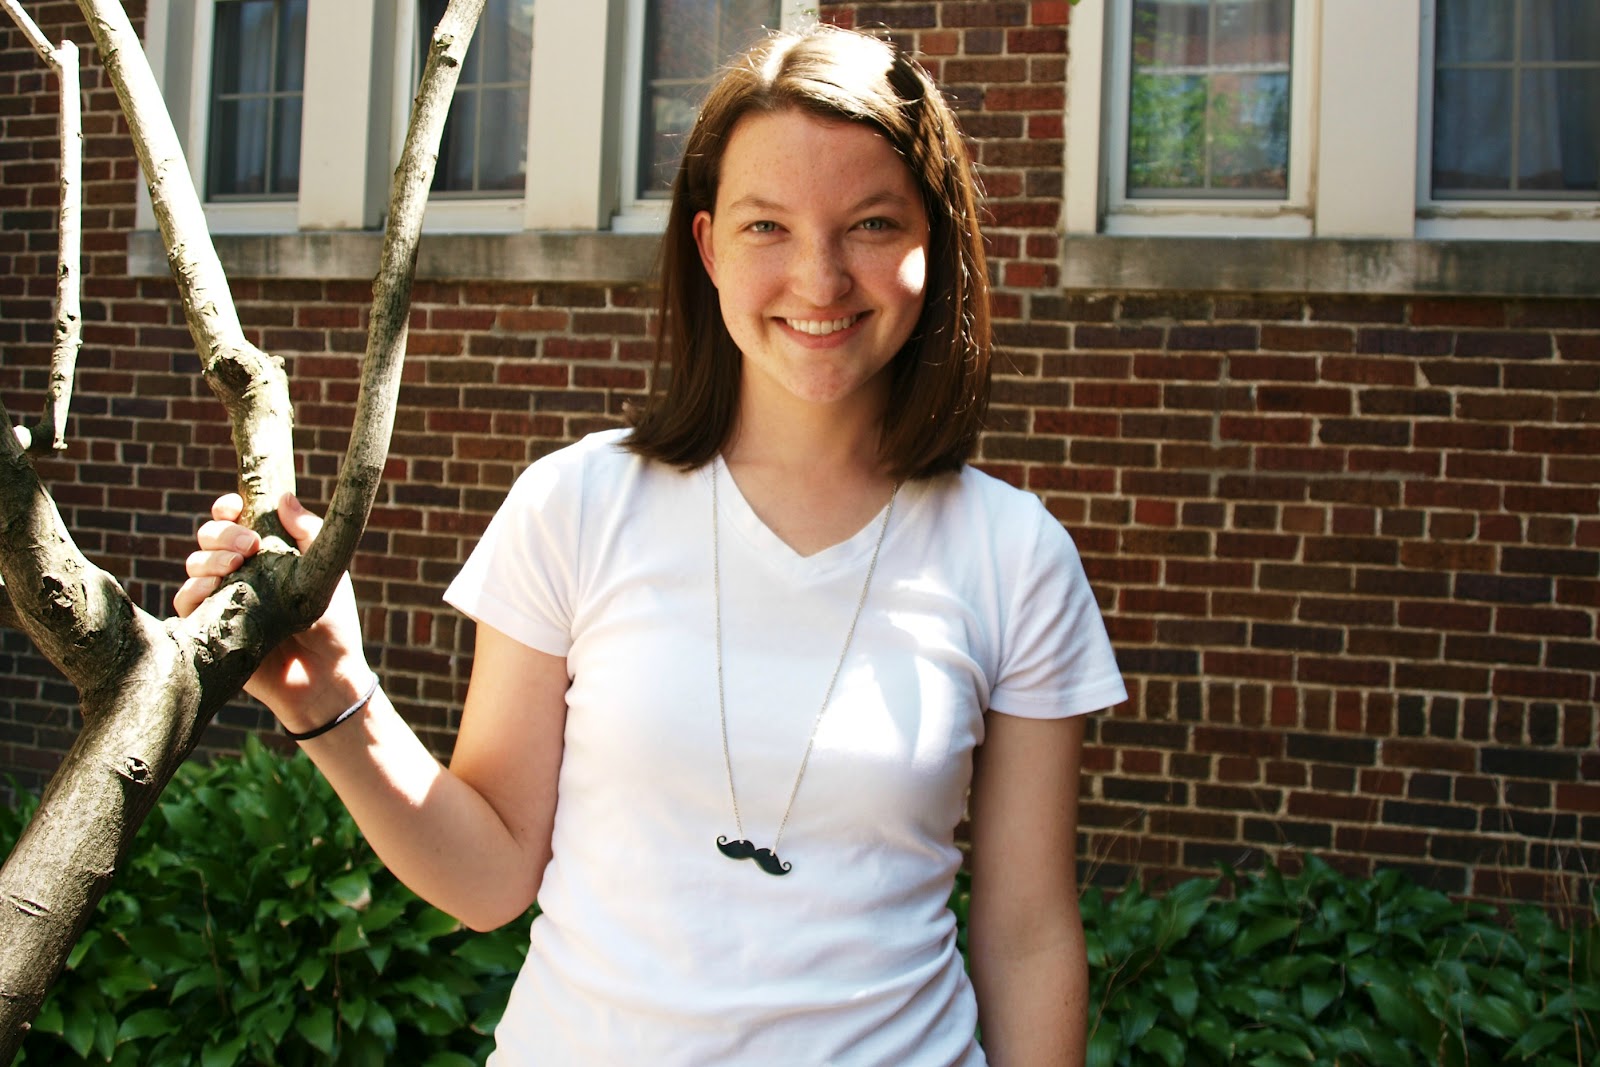
Want to learn how? Read on!

Pin It

Sunday, July 8, 2012

Nook/Kindle Cover // DIY

I currently have 271 pictures waiting to be cropped and/or edited for this blog. And I haven't even finished taking pictures of completed projects OR gotten half way done with my loooong list of projects to do this summer. I'm saving all of that work for my midnight shifts when I'll need entertaining and can use my laptop at work. So get ready for some great stuff coming up this year on Elemental Carbon. I promise it won't disappoint :)

I'm going to try and start doing more sneak peeks during the middle of the week, so be sure to come back and check what's coming up!

I used some of the money I am making from my summer job and splurged a bit. I bought myself a Nook SimpleTouch with GlowLight (that's a mouthful!) We get to read at the front desk for my job so I have been using it a lot.

When I first bought it, I looked into cases and covers for protection, but they started out at $35 which just won't cut it for me.

So like all crafty people would, I made one myself! I didn't have any tutorial to go off of, I just made it up as I went! I ended up staying up until 1 am making this cover the exact same day that I got the nook. I was too excited!


I am quite proud of how it turned out. It ended up being $10-$15 (much cheaper!). And a lot of the supplies (like extra fabric, extra elastic, extra double sided fabric tape) I can use again for other projects!


Hello there!

I found this gorgeous fabric at JoAnn's (big surprise, huh?) for $6/yard. I got half a yard (and now regret not getting more!) so the fabric ended up being only $3. Plus I had some left over.


This tutorial can be adapted to make a cover for just about anything!

Want to learn how to make one yourself? Read on!

You'll have to bear with me - it's quite a long and wordy tutorial, but I tried to be as specific and detailed as possible. (Lots of pictures, too!)

Pin It